
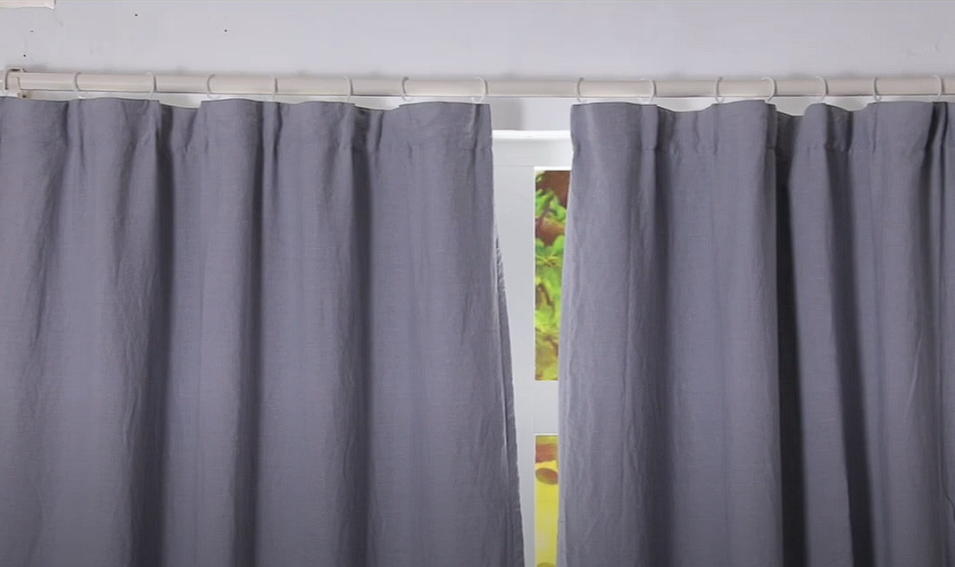
No room in a home is complete without curtains since they are a useful addition. However, dust and filth build up on them, along with foul odors, and their aesthetic beauty. This can cause allergies and also make your home appear unclean.
Frequently washing curtains is a good way to make sure the air is fresh and your home is clean. But many people wonder, “Is it possible to wash curtains that have rings in a washing machine?”
The answer is yes, but you must do it in such a way that the curtains do not fade and the rings don’t break. That is the reason steps should be followed. Starting from checking the fabric tag to picking the right wash cycle, everything requires a little bit of extra attention.
this guide down into easy step-by-step instructions on how to properly wash your curtains. You will find out how to get rid of dust, choose fabric softener, and dry them without causing any wrinkles. Ready to freshen up your curtains? Let’s get started!
Related Post: Best Curtain Material for Sunlight Protection, UV Rays, etc.
Step 1: Check the Fabric and Care Label
The curtain will be one of the last chores to tackle, that is, until a hopeful deep clean. That said, caregivers must look at the Care Label. Curtains can get ruined very quickly if care labels are ignored because these labels can be very helpful in preventing curtains from getting overly damaged while attempting to clean them.
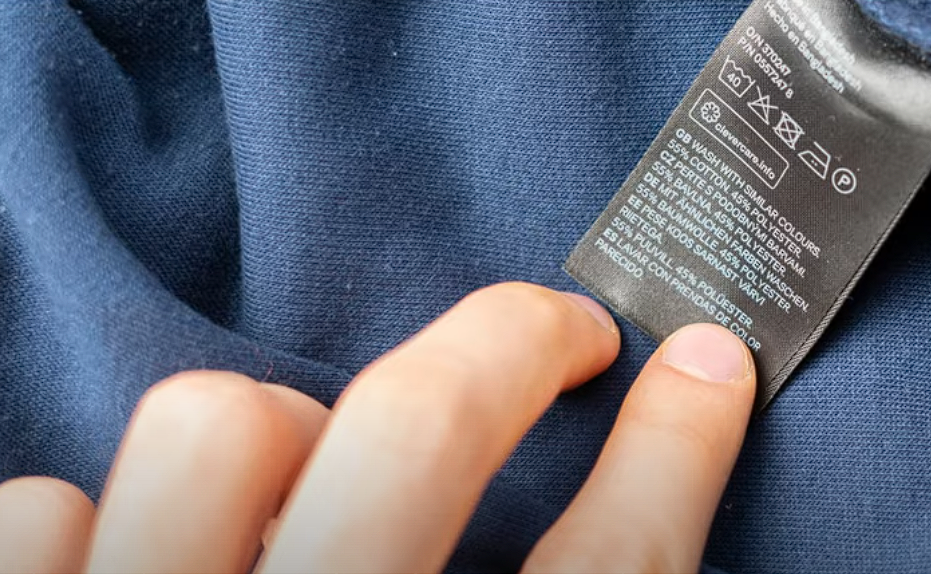
Neglecting to wash curtains as instructed may lead to a multitude of problems like the original material shrinking, color being removed, and even rips. Depending on a curtain’s label, some can endure a machine wash while others may require inaccessible hand washing or dry cleaning.
The type of fabric also determines how you are supposed to clean your curtains. Washing linen or velvet is much tougher compared to polyester or even cotton. It’s best to stay away from putting any fabric labeled “Dry Clean Only” in a washing machine as that would most likely cause irreversible damage to the fabric.
It’s simple to save curtains with a few minutes set aside to check for instructions to ensure they effortlessly remain clean with no set hostility.
Step 2: Remove Dust and Loose Dirt
Before washing, the curtain should first be dusted to remove any grime. Pet hair, dust, and debris can accumulate in curtains over time, which can result in allergy issues and a lack of aesthetics. Gently shake each curtain to allow any dust to dislodge.
For more thorough cleaning, dirt, especially from folds and pleats, can be removed with a vacuum cleaner that has a soft brush attachment or a lint roller.
Completing this step will make washing the curtains easier, keep the dirt from contaminating the washing machine, and enhance the curtains’ appearance after they have been washed.
Step 3: Preparing the Curtain for Washing
The first step is removing any potentially delicate rings. If they are loosely attached, gently take them off. If left on, the curtains must go into a laundry bag or pillowcase to keep the fabric from being damaged along with the rings.
After the rings are removed, ensure there are no visible marks on the fabric. If there are, put some gentle detergent on the fabric to ensure deep cleaning occurs. Always check the load size on the washing machine.
If there is too much fabric, the curtains will not wash properly and will become overly wrinkled. If these suggestions are followed, the washing process will be smooth and the curtain will be in better shape.
Step 4: Choosing the Right Washing Machine Settings
Maintaining the washing machine’s settings specific to the curtain’s fabric ensures it remains clean and without damage. Start with the correct temperature setting. Cold or lukewarm water is suitable for most fabrics so that shrinkage and color fading do not occur. Do not use hot water because that can damage delicate materials.
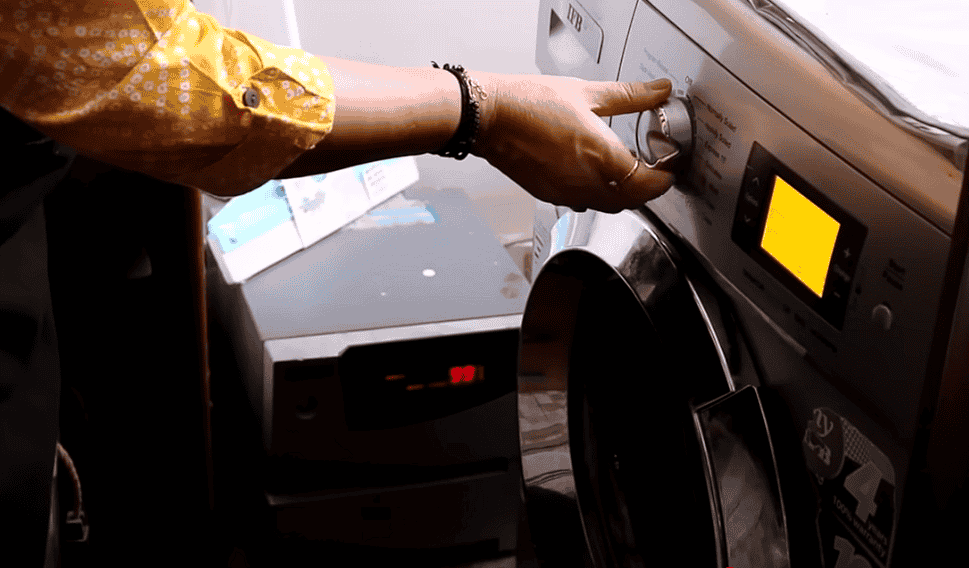
In the next step, choose a mild wash cycle that does not scrub harshly to avoid rough agitation. Excruciating cycles pose the risk of tearing and damaging the fabric. Use a detergent that falls under the mild category and does not fade colors or weaken the curtains’ fibers, and avoid bleach since it can damage both the fabric and the rings.
Step 5: Adding Extra Care During Washing
Taking good care of your curtains can help keep them looking fresh for a long time. When washing curtains, use a mild detergent to protect the fabric from fading.
Bleach should be avoided because it weakens fabric fibers and ruins colors. White vinegar helps soften fabric naturally during the rinse cycle, while baking soda adds extra brightness by fighting dirt and preserving colors. Heavy fabric softeners should also be avoided because they can leave a residue.
Make sure there are no other items in the machine with the curtain so the curtain gets an even wash. Following these simple instructions will have your curtain looking pristine for longer.
Step 6: Drying the Curtains Properly
When air drying, gently handle the curtains while they are still attached to the rings. The ideal approach is to hang the curtains on a shower rod/clothesline or lay them down flat to preserve the fabric while avoiding damage to the rings.
If you are going to put them in the dryer, make sure to set it to low heat and toss in either dryer balls or clean tennis balls as they soften the wrinkles. Remove curtains while slightly damp to avoid shrinking.
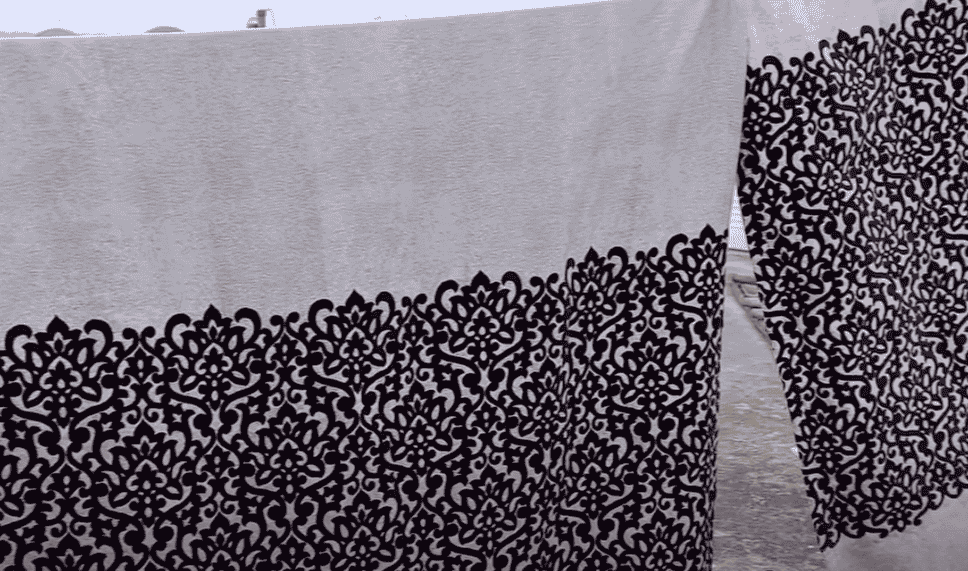
For optimal results, rehang them on the window rod while still damp and allow gravity to smooth the creases as they dry. Avoid high heat settings, as this shrinks fabric and warp the rings. Defensive ironing: only as needed, using low heat with a cloth barrier over the iron. Not rushing to touch up the wrinkles later is what patience gets you.
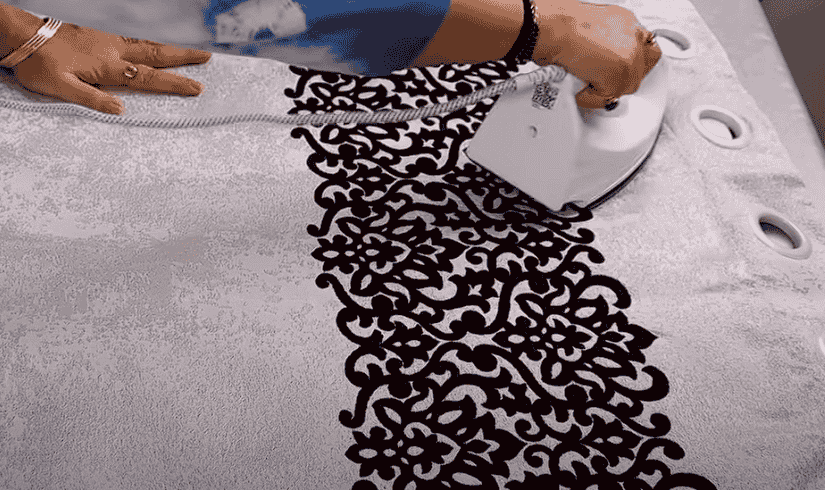
Step 7: Ironing & Rehanging – Because Wrinkles Don’t Match Your Decor
Once the curtains have dried, step wrinkles as if preparing a sophisticated piece of clothing. If possible, there is no need to iron: Curtains can be hung while still damp, which allows some water to help release creases due to gravity.
For stubborn creases, a steamer can be used as it is less aggressive and less likely to scorch the fabric compared to an iron. If ironing is necessary, it is best to do so while the curtain is turned inside out and set to the lowest heat setting, gliding over the area surrounding the curtain rings to prevent scratches.
If rings have been removed, put them back and adjust any bent ones for uniformity. Place the curtain back on the rod and give the pleats or folds some floss to achieve a tightened, clean look.
If you want the best results, give the curtains a light spritz of water when placing them on the rod. Now, stand back to appreciate your crisp, stunning curtains because they deserve your admiration and, in all honesty.
Step 8: Keep ‘Em Fresh – Because Laundry Day Shouldn’t Be Weekly
Just like well-placed houseplants, clean curtains require maintenance. To keep clean curtains, dust should be removed weekly. Monthly vacuuming can be done using the upholstery attachment, and if there are no clean tools available, a lint roller works just fine. Curtains should never be hung near windows that are open and wet because enclosed moisture leads to the growth of mildew.
For deeper freshness, making your own refresher would be ideal. Add a pinch of vodka, as it is deemed scentless, and pour in some essential oil. Fabrics are easily damaged by the sun’s rays, so close sheer curtains. While routine washing can be done every three to six months, any stains and marks should be dealt with as soon as possible using mild soap.
Pingback: Creative Ways to Hang Curtains Without Rods - 12 Easy Method